
Last updated: 09.04.2026
Many users not only want to manage their monitoring via the console, but also evaluate it graphically. With Icinga2 and Icinga Web, a modern interface is available for this, in which processes and checks can be conveniently visualized.
If you have already read my guide on installing Icinga2 and Icinga DB from the Part 1 of this series you can continue directly here. If not, we recommend starting with the basic installation first.
Step-by-step instructions for installing Icingaweb2 and Icinga DB Web on Ubuntu 24.04
In this guide I will show you step by step how to install and configure Icingaweb2 with Icinga DB Web.
Requirements for the installation
To install Icinga DB Web on Ubuntu 24.04, the following requirements must be met. First of all, you need an existing Icinga instance consisting of:
- Ubuntu 24.4 LTS
- Icinga2, IcingaDB, IcingaDB-Redis and MySQL/MariaDB/PostgreSQL
- A Sudo user that is set up on the machine and may be used
- A functioning Internet connection
- An installed web server (in my case I use Apache)
Step 1: Install and configure Icingaweb2
Before you start, you should already have a user for Icinga Web. Don’t worry, if you have finished the first part with me, it’s already set up.
Use the following command to install a module for the graphical user interface:
apt-get install -y icingadb-webThe icingacli and libapache2-mod-php are also installed automatically. Both dependencies are important. Briefly explained:
- libapache2-mod-php allows us to process PHP files (.php) directly in the Apache web server.
- Icingacli is the command line interface for managing and configuring Icinga Web 2.
Next, you create a setup token, which is required for the web-based setup:
icingacli setup token create If you need to call the token again later, you can use the following command:
icingacli setup token show Step 2: Create Icinga Web database
A fully automatic installation is not possible as certain system resources do not allow this due to security restrictions.
Our next step is therefore to create the Icinga Web database and the corresponding user. I use MySQL as database, for MariaDB the same command is possible. The creation is also possible under PostgreSQL.
mysql -u root -p
CREATE DATABASE icingaweb2;
CREATE USER 'icingaweb2'@'localhost' IDENTIFIED BY 'DeinSicheresPasswort';
GRANT ALL ON icingaweb2.* TO icingaweb2@localhost;Step 3: Setting up Icinga Web in the browser
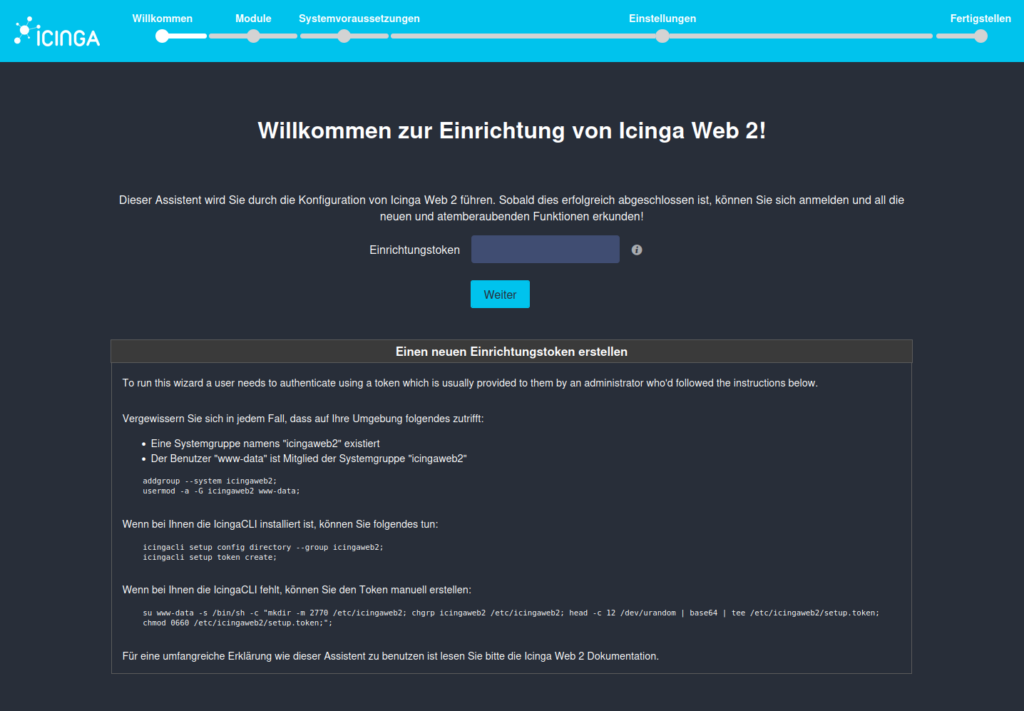
To start the Icinga Web 2 setup, call up the IP address of your Icinga instance in the browser and add /icingaweb2/setup to the end. You can view your IP address with ip a .
In the setup process, first enter the previously generated token.
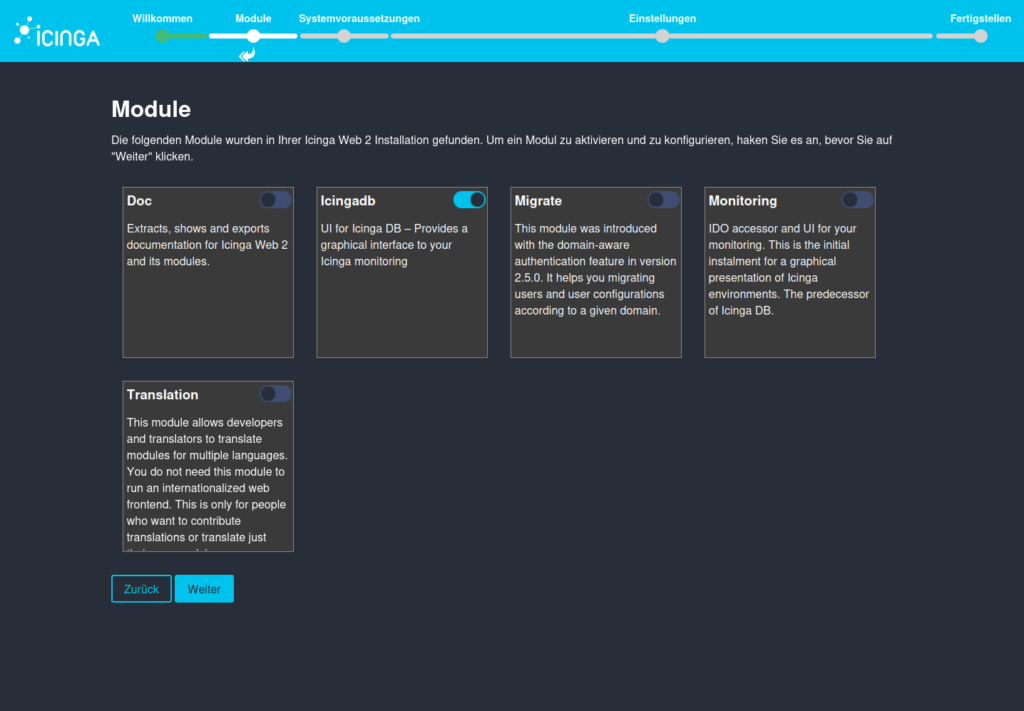
Select Icinga modules
On this page, you select the modules you want to use from the five suggested modules. The Icingadb module is already selected by default, which must be retained!
IMPORTANT: Since we are performing a current installation of Icinga 2 and Icinga Web 2, Icinga DB will be used instead of the IDO previously used. The monitoring module can therefore be dispensed with!
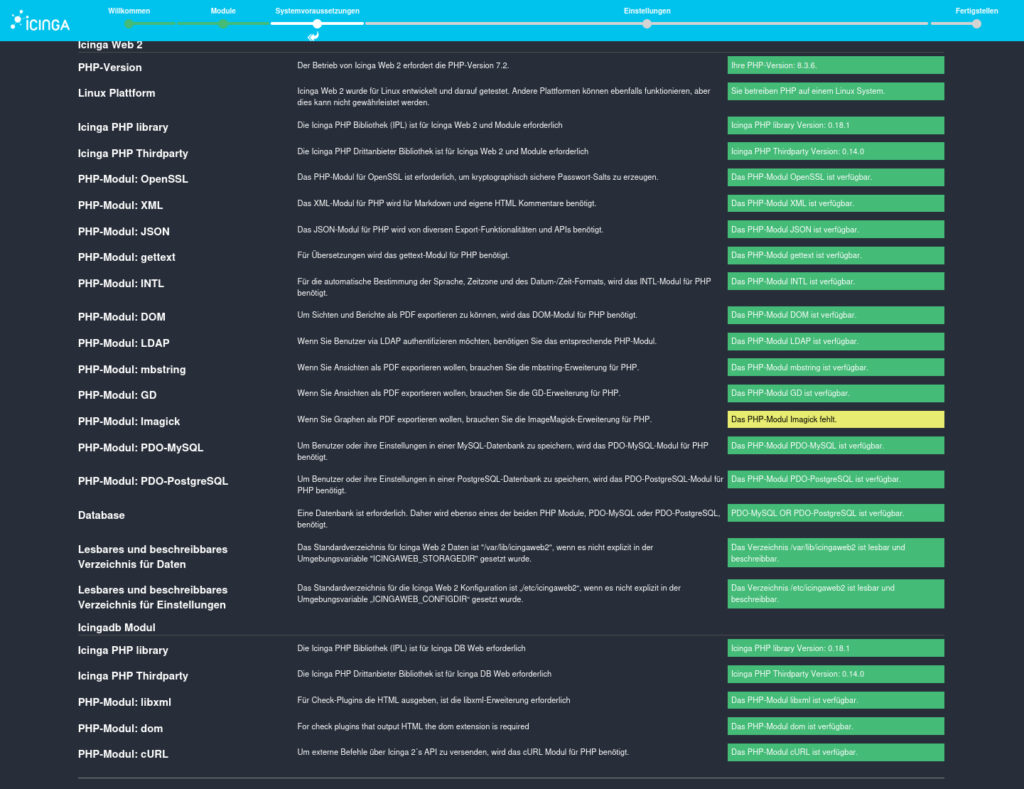
Check Icinga Web PHP modules
Here you will find an overview of all available components and their respective status.
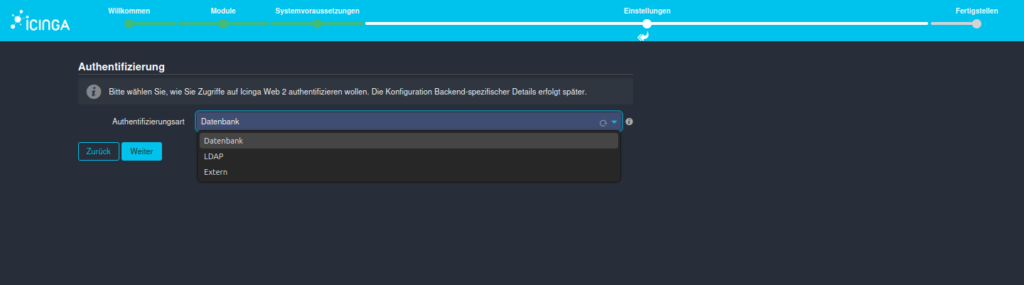
Select authentication method
In this section, you can specify one of three authentication methods. LDAP, External or, as in our case, Database.
These are filled in in the next step:
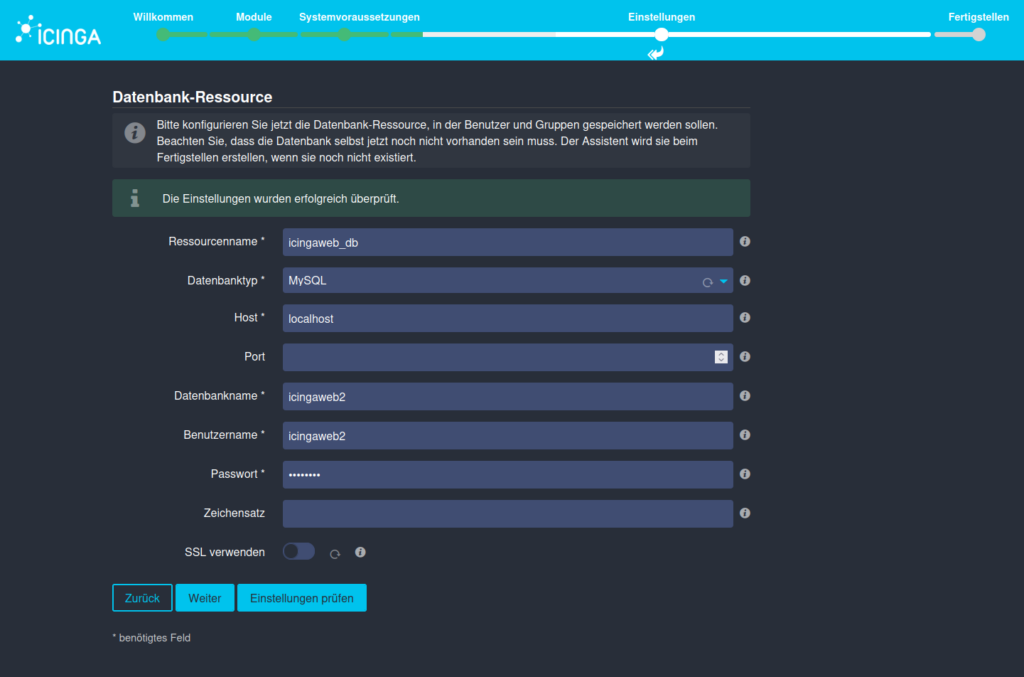
Database authentication
Here you define the connection to the previously created database resource and select the database type. If you have adjusted the host or the port, enter the corresponding values. We defined the database name, user name and password in step 2.
If you would also like to encrypt it with SSL, you can click on the button and enter your data.
If you now press Check, a text window appears, as in the example here, which checks your settings in advance. Once this has worked, the process continues.
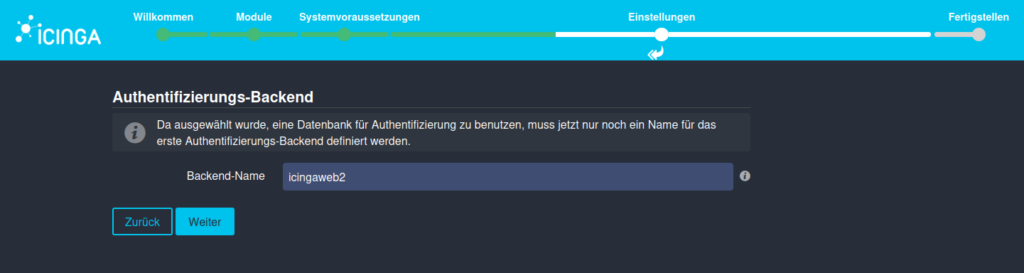
Icinga Web Backend Authentication
We have specified to use a database for authentication (our database resource). This must now be defined.
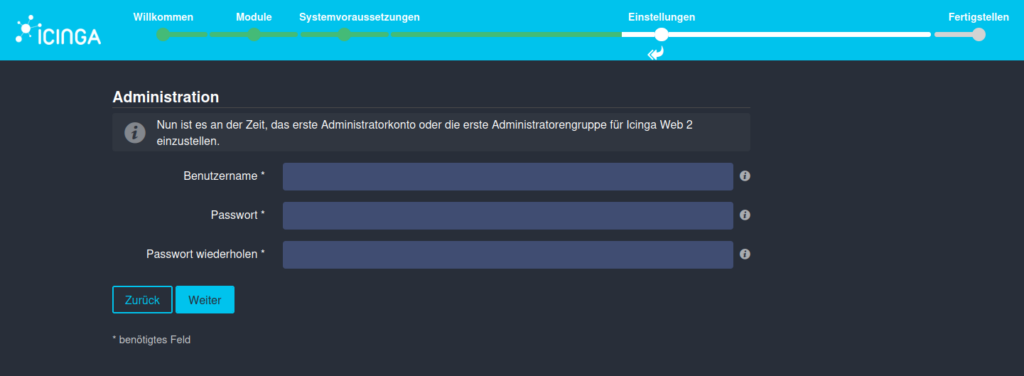
Create Icinga Web Admin User
Now create an administrator account for Icinga Web 2. User name and password can be chosen freely.
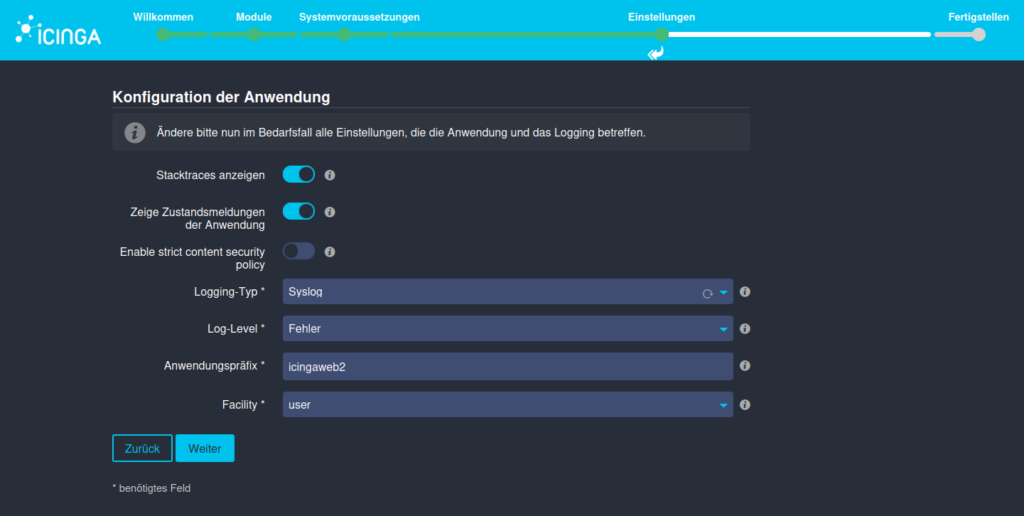
Icinga Web Configuration of the application
On this page, you have the option of making a few individual configurations to the application as well as the logging behavior of Icinga Web 2. The default settings are retained for this guide.
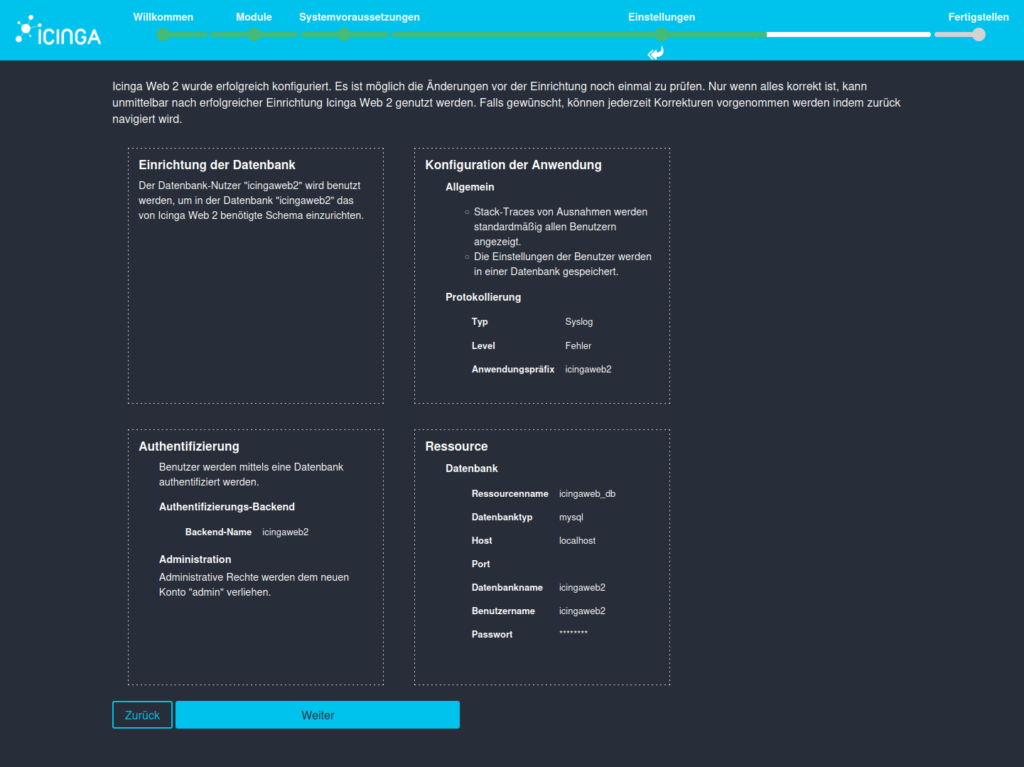
Summary of the previous configuration
You will receive an overview of all the settings you have entered. If you are satisfied with these and have not noticed any errors, press continue.
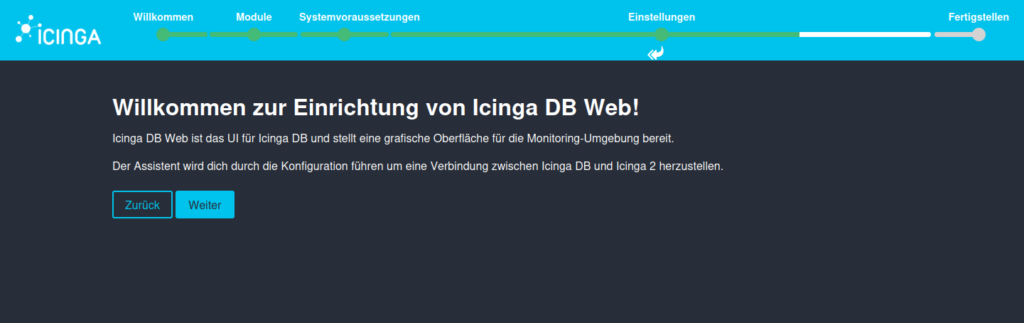
Configure IcingaDB-Web
After setting up Icinga Web 2, the configuration of IcingaDB Web now follows. Here are 5 steps you can follow to start Icinga2.
Follow the wizard to the next page. Here you have to enter the database data of Icinga DB. We created these at the beginning. You can find the instructions in the guide “Icinga with Icinga DB“.
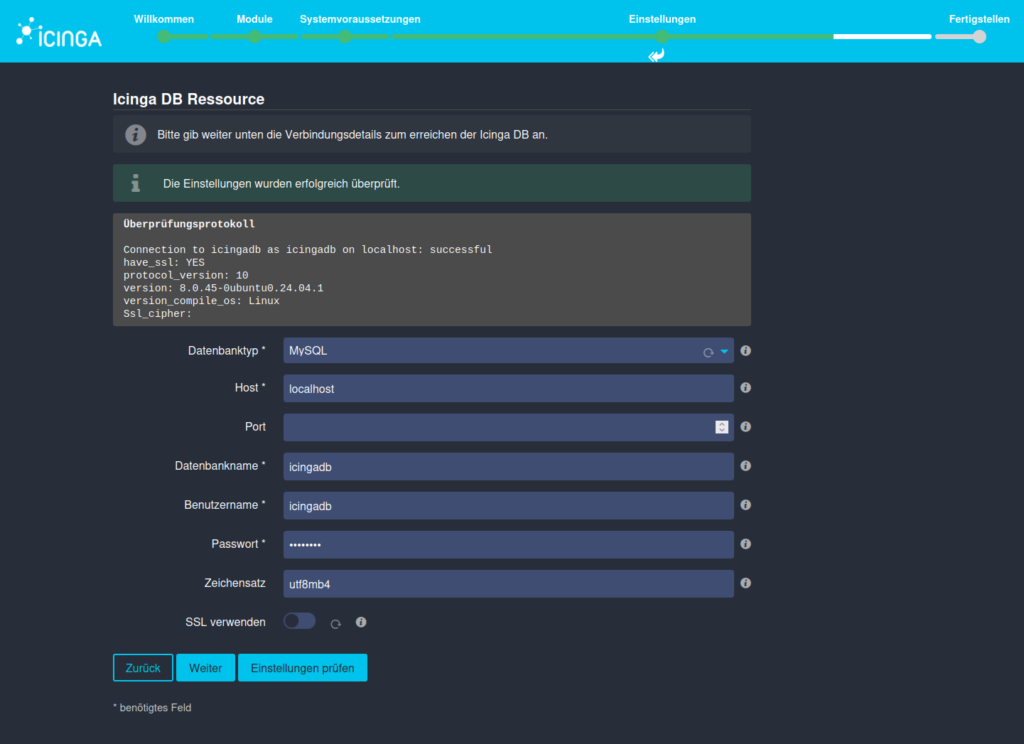
Check the settings to prevent errors and avoid troubleshooting later.
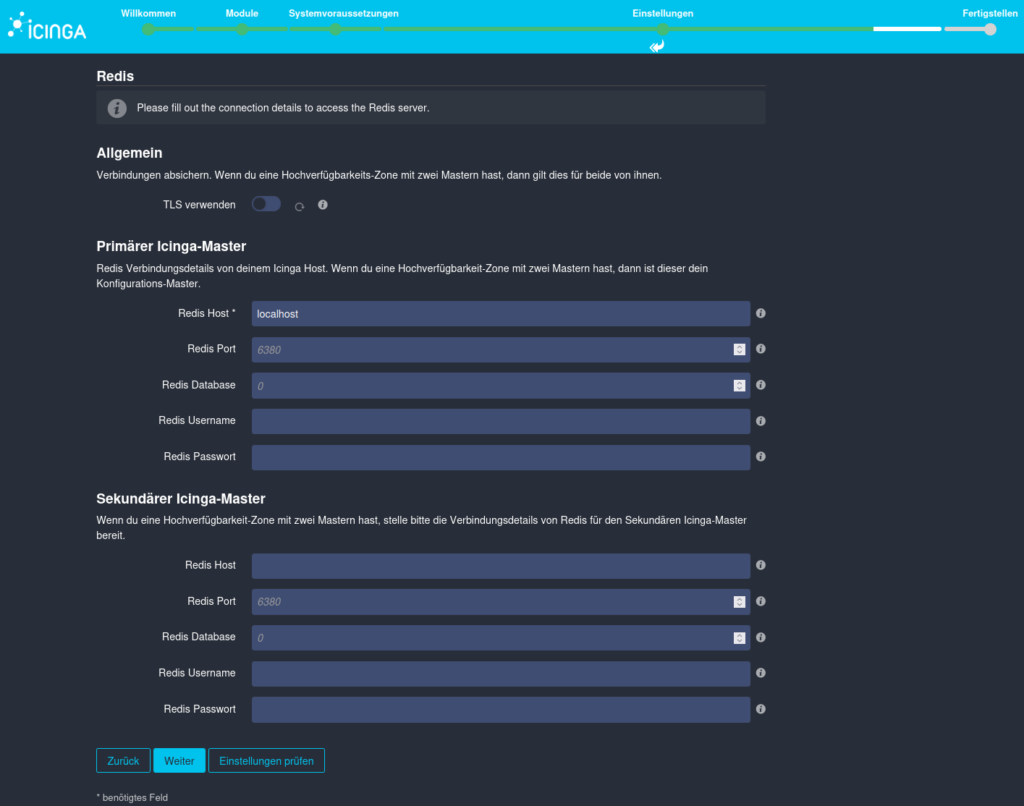
Provide Redis information
The connection to the Icinga DB Redis is now established in the following window. As with the database, the access data is entered here and the configuration is checked.
Note: As a password was not required during the setup of Redis, the field can also be left blank here.
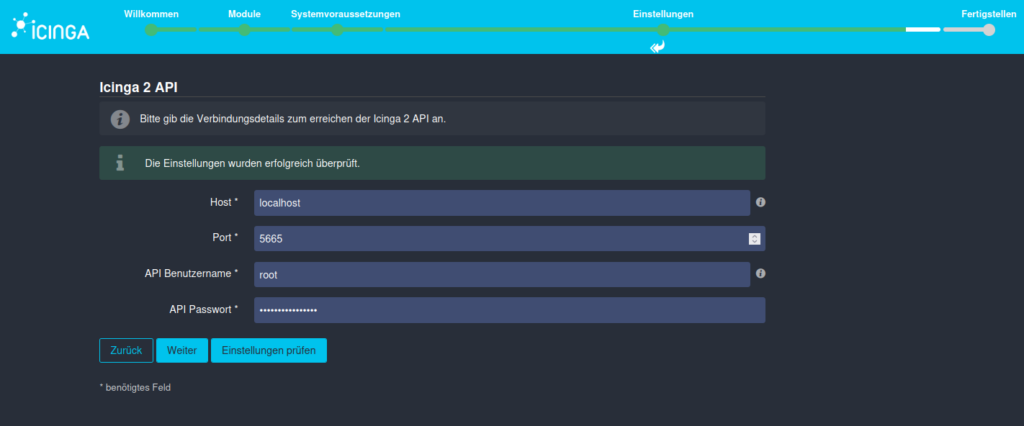
Connect Icinga API with Icinga Web
The last step before successfully completing the configuration of Icinga Web is to establish the connection from Icinga Web to the Icinga 2 API.
By default, root is set as the API user name. You can also find this user and the password under /etc/icinga2/conf.d/api-users.conf
You can also have the parameters entered checked again here.
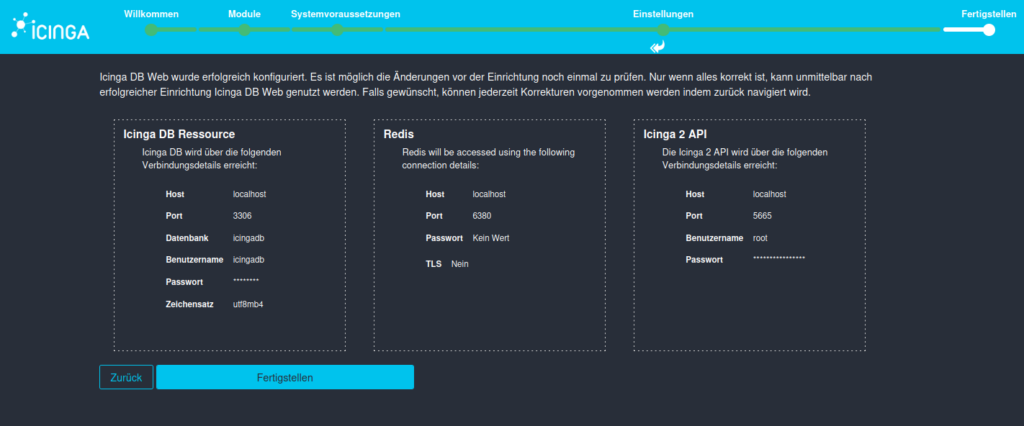
General overview & completion of the installation
Finally, you will receive an overview of all the parameters you have entered. Check all entries again and press Finish.
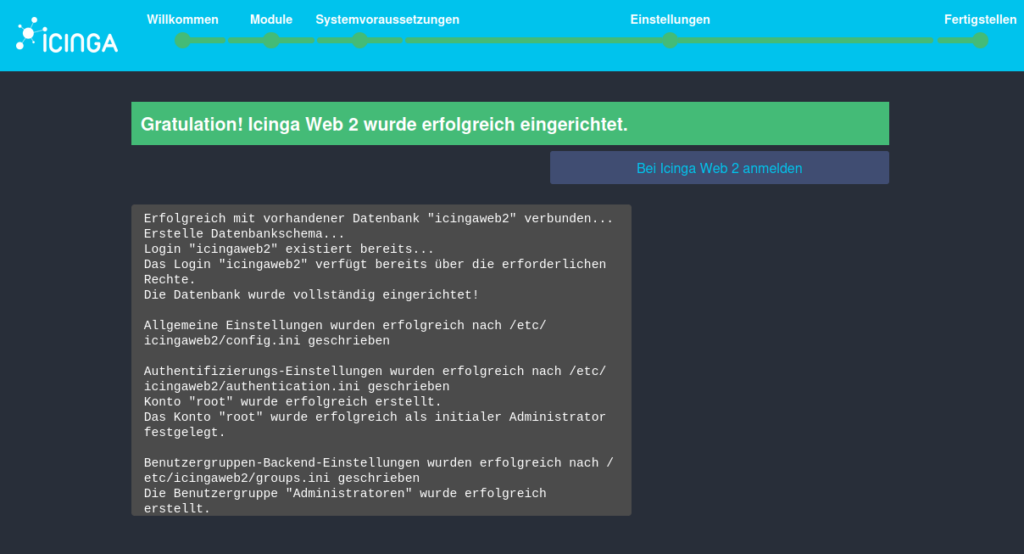
Now nothing stands in the way of your first registration. Except for the password… 😉
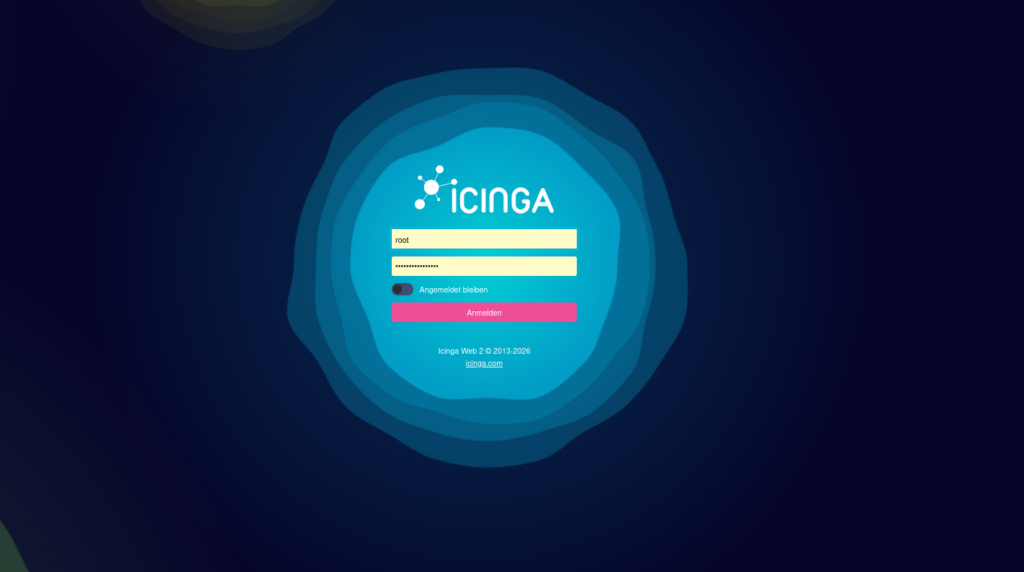
Congratulations, you have successfully set up Icingaweb2 and connected it to Icinga DB!
If you need help setting up or expanding your environment, you can contact our team at any time. You can reach us by e-mail at sales@netways.de, via our contact form or by phone!
