
Last updated: 07.05.2026
For many users, a graphical user interface is indispensable. With Icinga Web, Icinga2 provides the graphical user interface via which checks, hosts and status messages can be clearly visualized and managed.
If you have already completed my guide to installing Icinga2 and Icinga DB, you can continue directly here. If not, I recommend you read my previous guide first.
Step-by-step instructions for installing Icingaweb2 and Icinga DB Web on RHEL 10.1
This guide will walk you through the complete setup of Icingaweb2 on RHEL 10.1 – including Icinga DB web module, database setup, setup wizard in the browser, Redis connection and API connection to Icinga 2. At the end you will have a fully set up web interface for your Icinga stack.
Step 1: Installing Icingaweb2 and Icinga DB Web
Before the installation and configuration of Icinga Web starts, the icingadb-web package is installed. This step ensures that the module can be activated and configured directly later on in the Icinga Web installation guide. For installation you use:
dnf install icingadb-webThe icingacli and libapache2-mod-php are automatically installed. Both dependencies are important.
Briefly explained:
- libapache2-mod-php allows you to process PHP files (.php) directly in the Apache web server.
- Icingacli is the command line interface for managing and configuring Icinga Web 2. It is also used to create the setup token that we will need shortly.
If SELinux is active on your system, the corresponding Icinga Web 2 package must also be installed:
dnf install icingaweb2-selinuxStep 2: Setting up Icingaweb2
First, you create a database for IcingaWeb. This is used so that IcingaWeb can call up, forward and process data.
mysql -u root -p
CREATE DATABASE icingaweb2;
CREATE USER 'icingaweb2'@'localhost' IDENTIFIED BY 'DeinSicheresPasswort';
GRANT ALL ON icingaweb2.* TO icingaweb2@localhost;Next, you create a token for authentication. This is required to configure IcingaWeb quickly and easily with the IcingaWeb Setup Wizard. You create the token with :
icingacli setup token createThis command is available if the token needs to be called up again at a later time:
icingacli setup token showStep 3: Set up Icingaweb2 in the browser
To start the icinga Web 2 setup, call up the IP address of your Icinga instance in the browser and add /icingaweb2/setup to the end. You can view your IP address with ip a .
If the page is not accessible, make sure that the following services are running.
systemctl status httpd

systemctl status php-fpmOn the page that is now visible, enter the token that we created earlier.

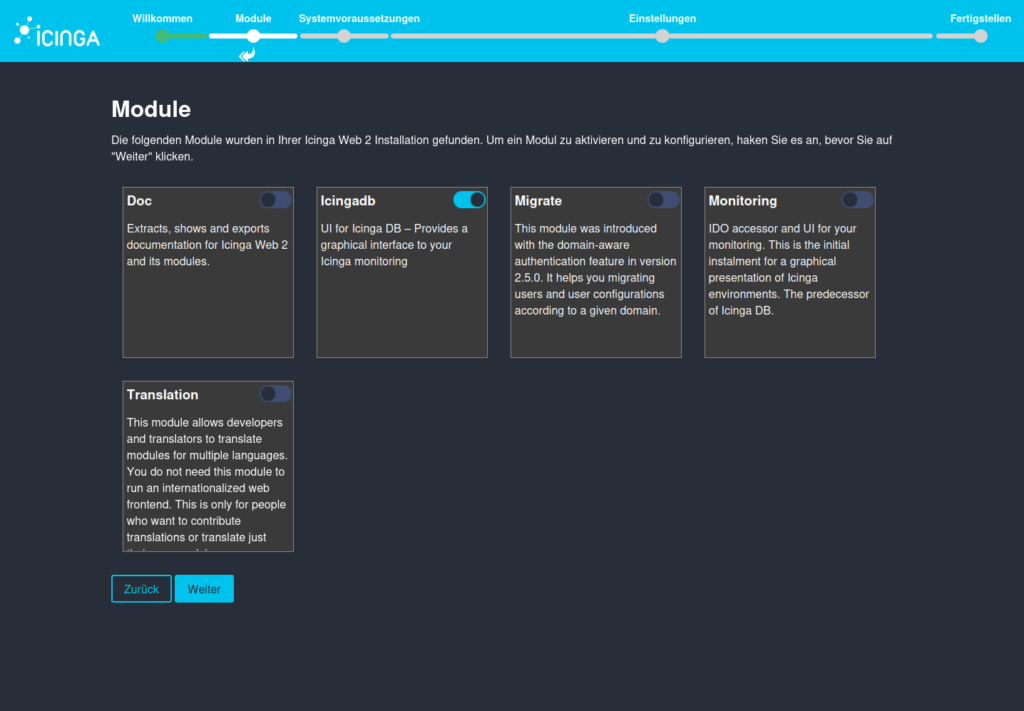
Select Icinga modules
On this page, you select the modules you want to use from the five suggested modules. The IcingaDB module is already selected by default, which must be retained!
IMPORTANT: Since a current installation of Icinga 2 and Icinga Web 2 is being carried out, IcingaDB is used instead of the IDO previously used. The monitoring module can therefore be dispensed with.
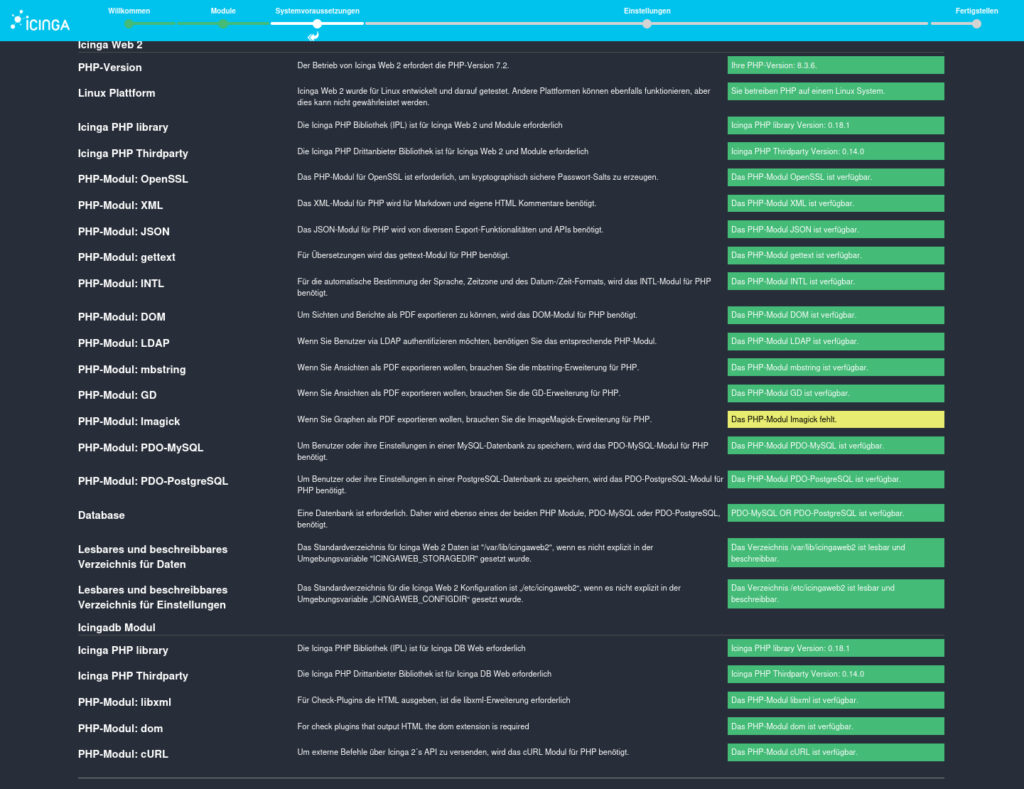
Check Icinga Web PHP modules
Here you will find an overview of all available components and their respective status.
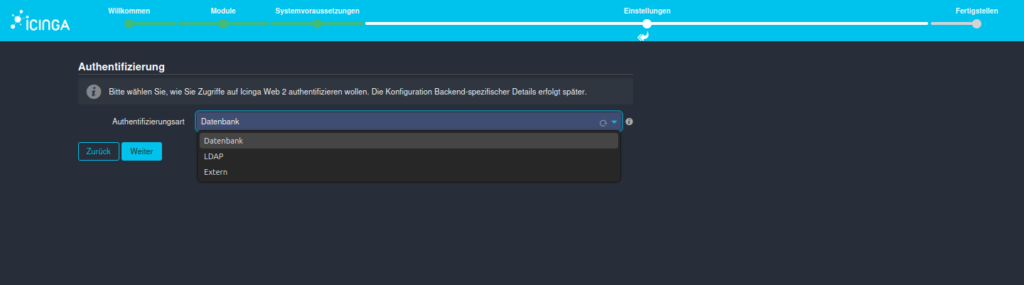
Select authentication method
In this section, you can specify one of three authentication methods. You can choose between LDAP, External or, as in this case, Database.
These are filled in in the next step.
Database authentication
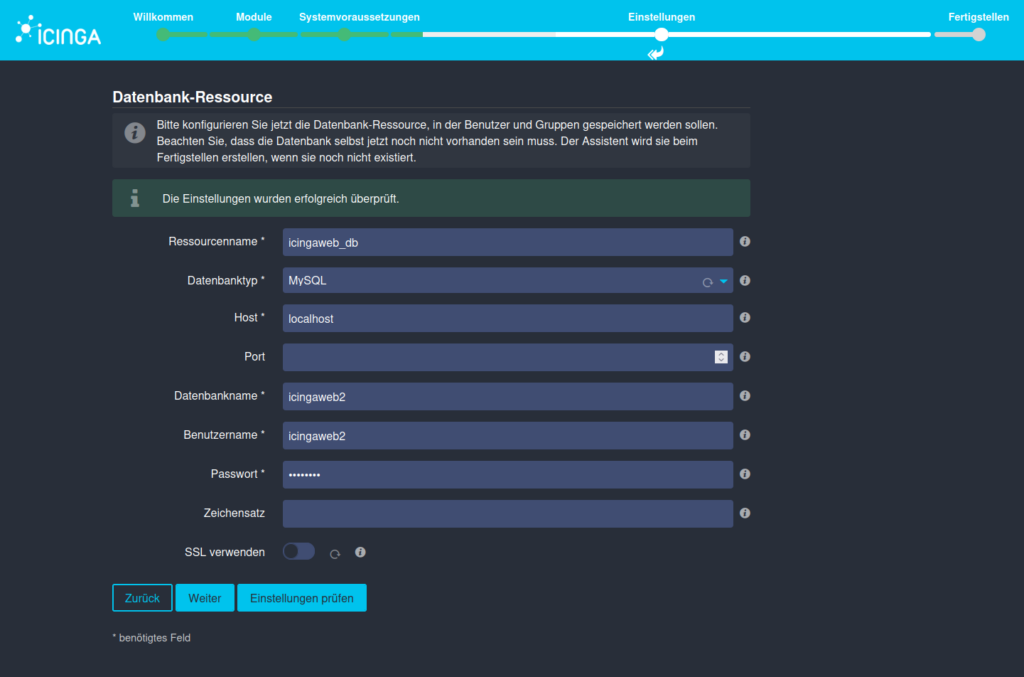
First, you specify which database resource you want to access. Then select the database type.
If you have customized the host, enter the customized host. The same applies to the port. We defined the database name, the user name and the password in step 2. If you would like additional SSL encryption, you can click on the corresponding button and enter your data.
If you now press Check, a text window will appear as in the example image. This checks your setting in advance. If this has worked, the process continues.
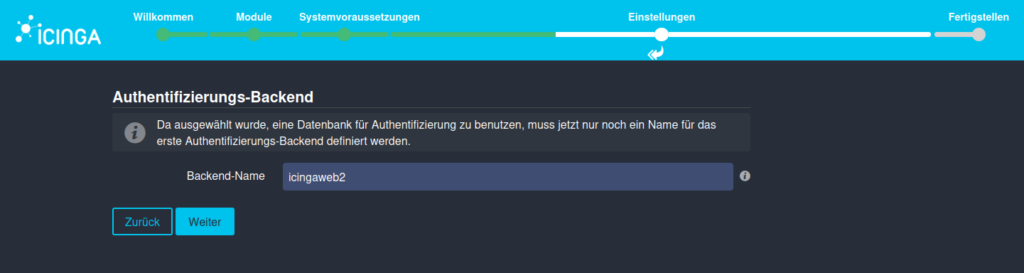
Icingaweb backend authentication
We have specified that we use a database for authentication (our database resource). This must now be defined.
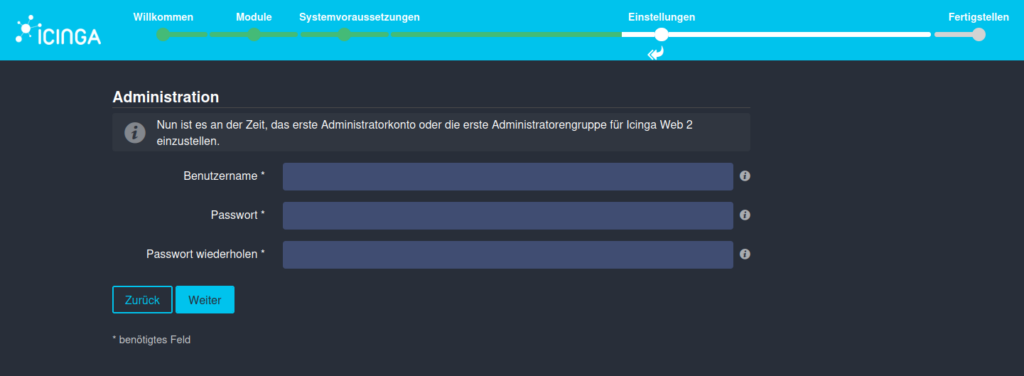
Create Icingaweb Admin User
Of course, you also need an administrator account. You now create this for Icinga Web 2.
User name and password are freely selectable.
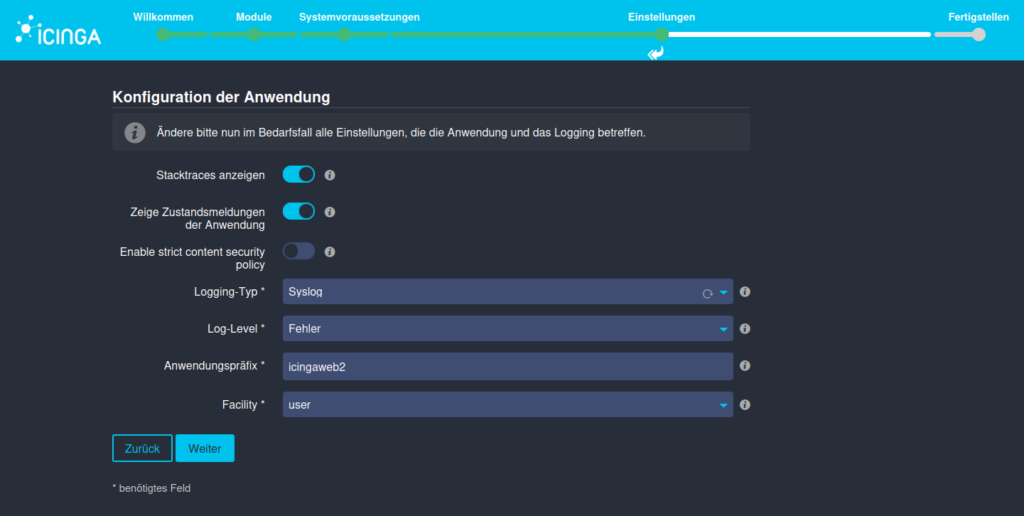
Configuration of the Icingaweb2 application
On this page you have the possibility to make some individual settings for the application and the logging behavior of Icinga Web 2. The default settings are retained in this guide.
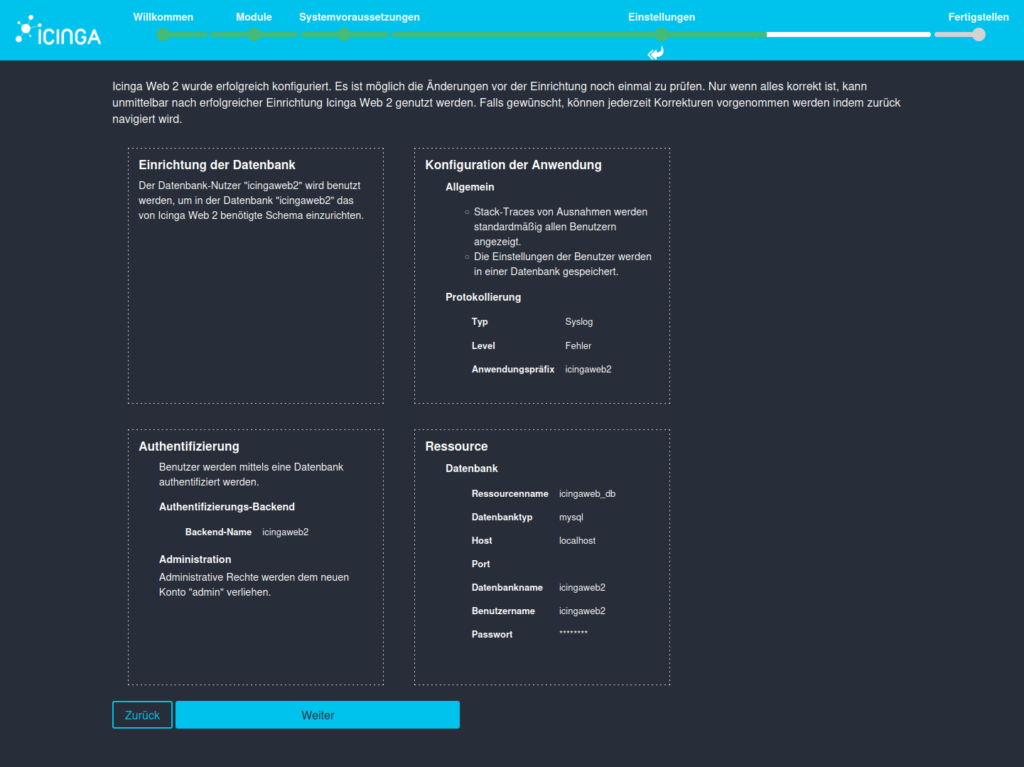
Summary of the previous configuration
You will receive an overview of all the points listed. If you are satisfied with these and have not noticed any errors, press “Next”.
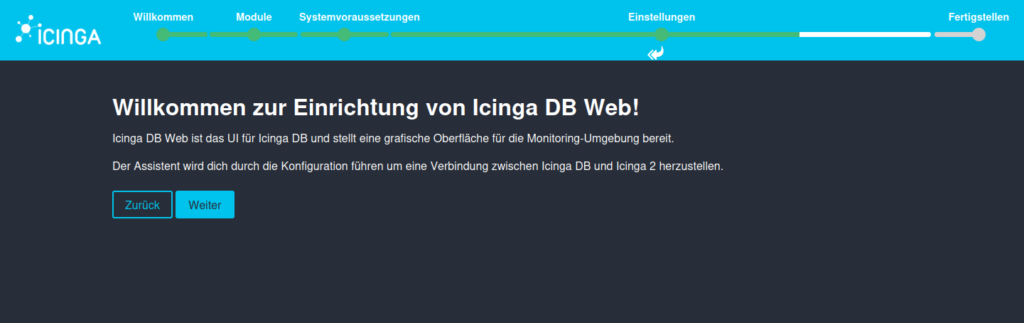
Configure Icinga DB Web
After Icingaweb2, it is now the turn of IcingaDB Web. The following five steps will allow us to start Icinga 2.
Follow the wizard to the next page. Here you have to enter the database data of Icinga DB, which we created at the beginning.
You can find the instructions in the guide “Icinga with Icinga DB“.
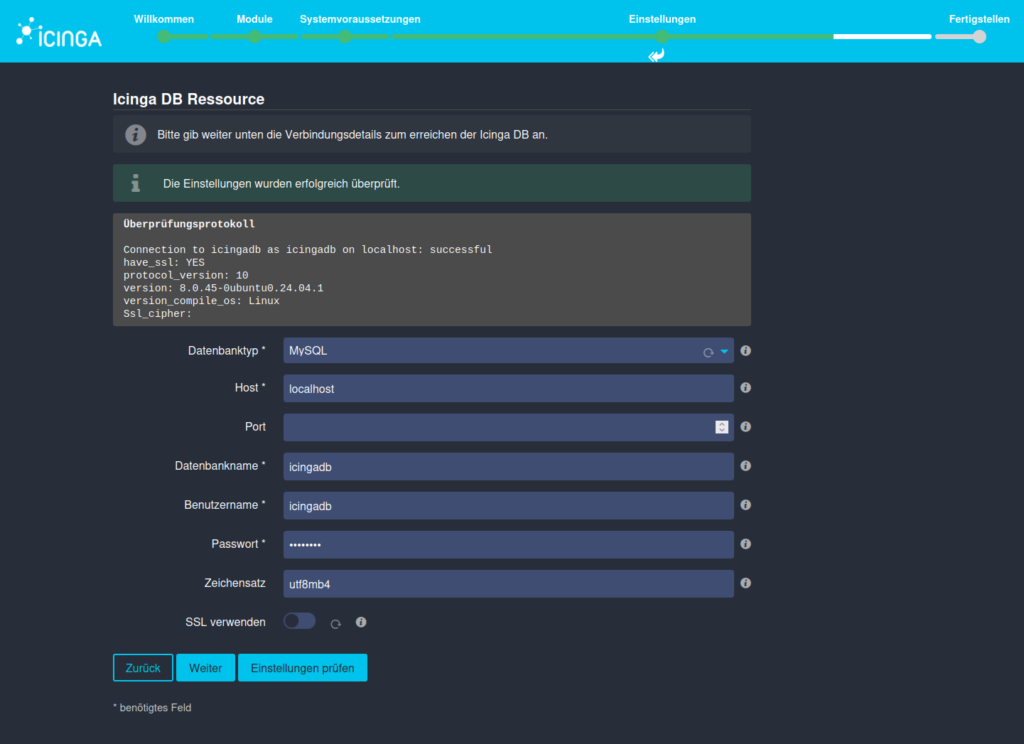
Check the settings to prevent errors and avoid troubleshooting later.
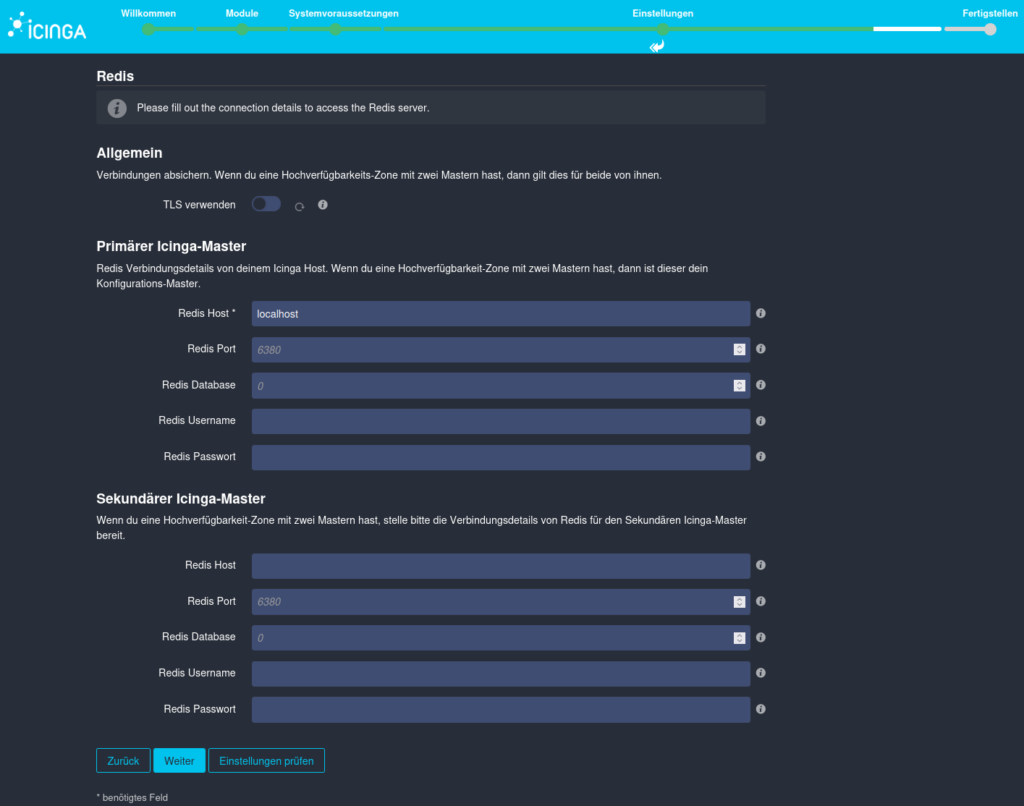
Provide Redis information
The connection to the IcingaDB Redis is now established in the following window. As with the database, the access data is entered here and the configuration is checked.
Note: As a password was not required during the setup of Redis, the field can also be left blank here.
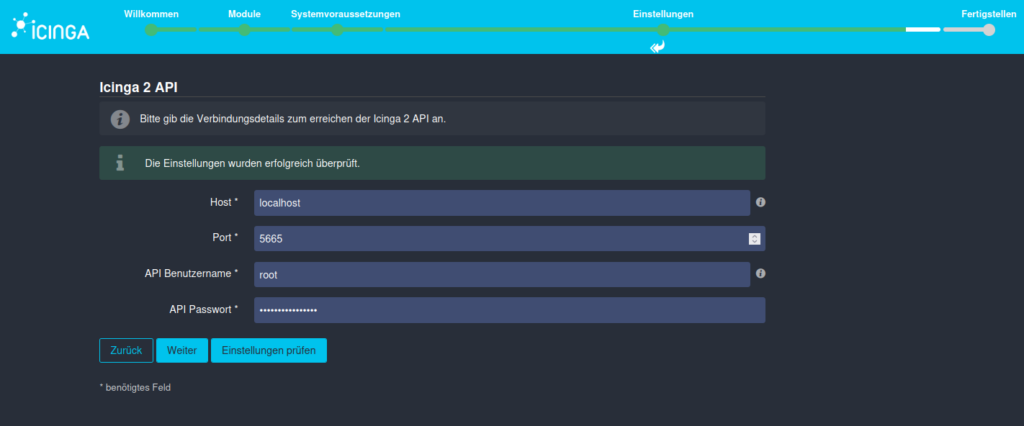
Connect Icinga API with Icingaweb2
The last step before successfully completing the configuration of Icingaweb is to establish the connection from Icingaweb to the Icinga 2 API.
By default, root is set as the API user name. You can also find this user and the password under /etc/icinga2/conf.d/api-users.conf
You can also have the parameters entered checked again here.
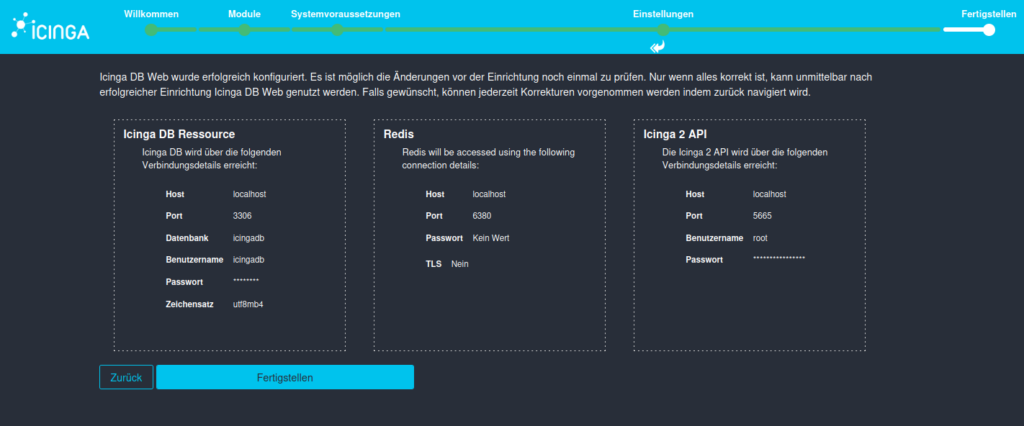
General overview
Here too, there is an overview of all the parameters entered.
Take another look at it and then copy it. Finish.
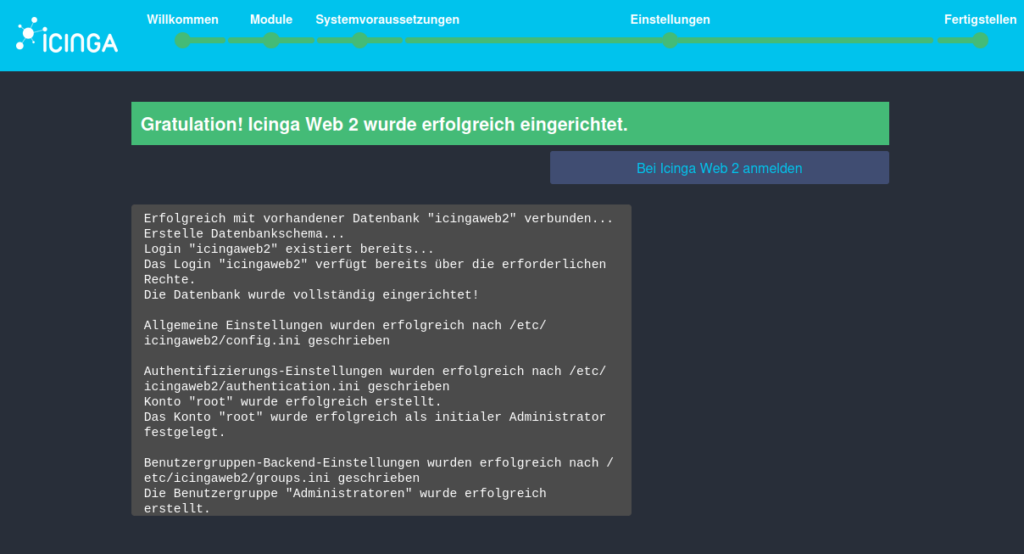
Now nothing stands in the way of your first registration. Except for the password…

Thank you for following me this far! Now you have everything you need to install Icingaweb2 and Icinga DB Web on RHEL 10.1.
Do you want to set up or operate Icinga professionally in your environment?
We support you in planning, installing and operating your monitoring stack, from a single instance to a distributed environment with multiple zones. Send a non-binding inquiry now by e-mail to sales@netways.de or via our contact form!
