
Last updated: 18.06.2026
Installing Icingaweb2 and Icinga DB Web on Ubuntu 26.04 is the logical next step after the basic installation of Icinga 2 and Icinga DB. This guide walks you through the package installation, creating the web database, and the entire setup wizard in the browser, including connecting to Redis and the Icinga 2 API.
The Most Important Points in 30 Seconds
- Icingaweb2 and Icinga DB Web are installed via the official Icinga APT repository. A single package (icingadb-web) includes everything you need.
- The setup wizard runs entirely in the browser. To do this, you’ll need a setup token, which is generated via the CLI.
- If you use Icinga DB, you should enable only the IcingaDB web module. The outdated monitoring module (IDO) remains disabled.
- The Redis connection and the Icinga 2 API are configured at the end of the wizard. Have the login credentials from /etc/icinga2/conf.d/api-users.conf ready.
Installation Requirements
Before you begin installing Icingaweb2 and Icinga DB Web on Ubuntu 26.04, make sure the following components are already installed:
- Ubuntu 26.04 LTS as an operating system
- Icinga2, IcingaDB, and IcingaDB-Redis in a running instance
- MySQL, MariaDB, or PostgreSQL as a database
- Apache (or another web server) is already installed
- A sudo user with the necessary permissions
- A functioning Internet connection
Step 1: Install and configure Icingaweb2
Before you begin, a user must already exist for Icinga Web. If you went through the first part of the installation with me, it’s already set up.
Use the following command to install a module for the graphical user interface:
apt-get install -y icingadb-webThe icingacli and libapache2-mod-php are also installed automatically.
- libapache2-mod-php allows us to process PHP files (.php) directly in the Apache web server
- Icingacli is the command-line interface for managing and configuring Icinga Web 2
Next, you create a setup token, which is required for the web-based setup:
icingacli setup token create If you need to call the token again at a later time, you can use the following command:
icingacli setup token showStep 2: Create Icinga Web database
Important: A fully automated installation is not possible because certain system resources do not allow it for security reasons.
Therefore, the next step is to create the Icinga Web database and the corresponding user. I use MySQL as my database; the same command works for MariaDB. It can also be created using PostgreSQL.
mysql -u root -p
CREATE DATABASE icingaweb2;
CREATE USER 'icingaweb2'@'localhost' IDENTIFIED BY 'DeinSicheresPasswort';
GRANT ALL ON icingaweb2.* TO icingaweb2@localhost;Don’t feel like doing manual setups?
Our consultants handle installation, hardening, and monitoring onboarding—from the first VM to a production-ready HA environment.
Free Initial Consultation →
Step 3: Setting up Icinga Web in the browser
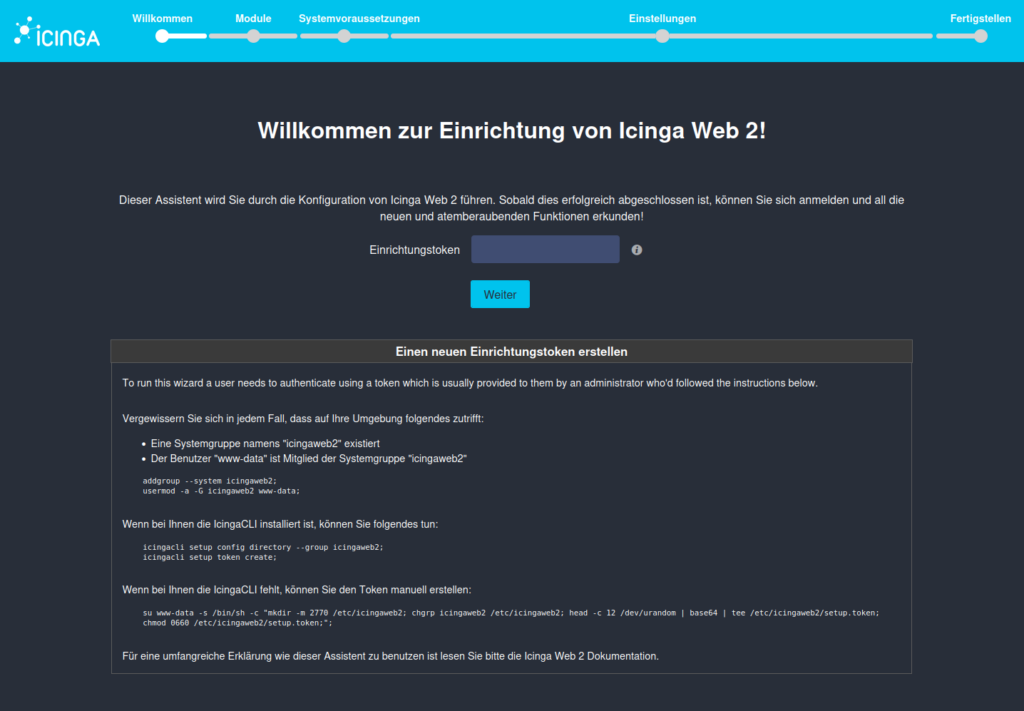
To start the Icingaweb2 setup, enter the IP address of your Icinga instance in your browser and add /icingaweb2/setup to the end. You can view your IP address using the command ` ip a `.
During the setup process, enter the token you generated earlier.
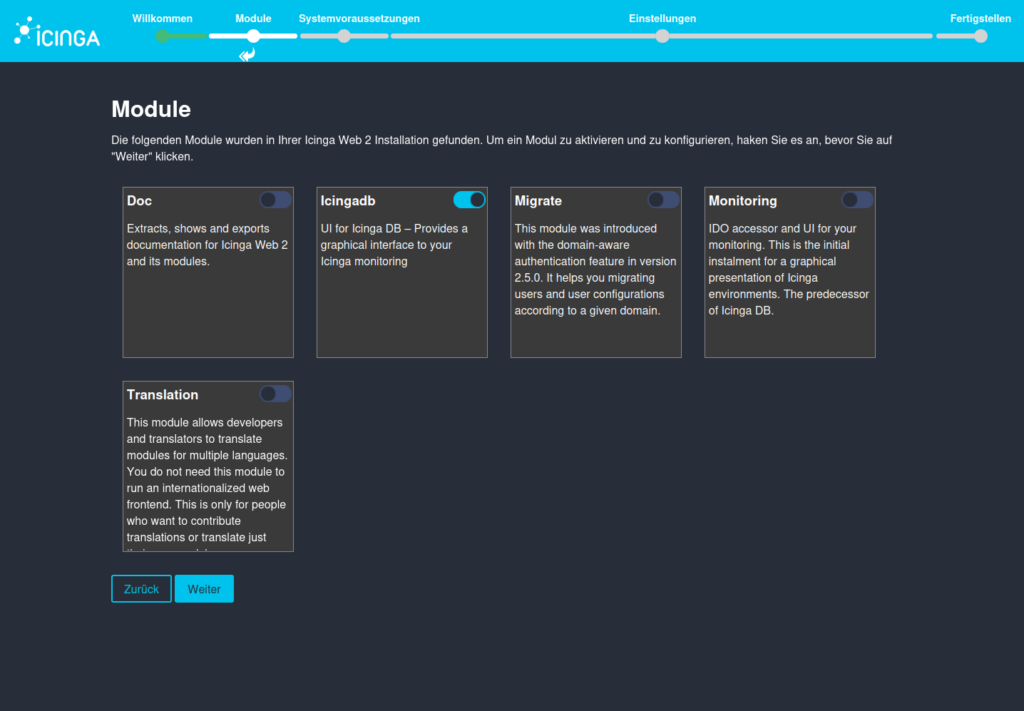
Select Icinga modules
On this page, you can select the modules you want to use. By default, the “Icinga DB” module is already selected, and you must keep it selected!
Important: Since we are performing a fresh installation of Icinga 2 and Icingaweb2, Icinga DB will be used instead of IDO, which was used previously. Therefore, the “Monitoring” module is not required .
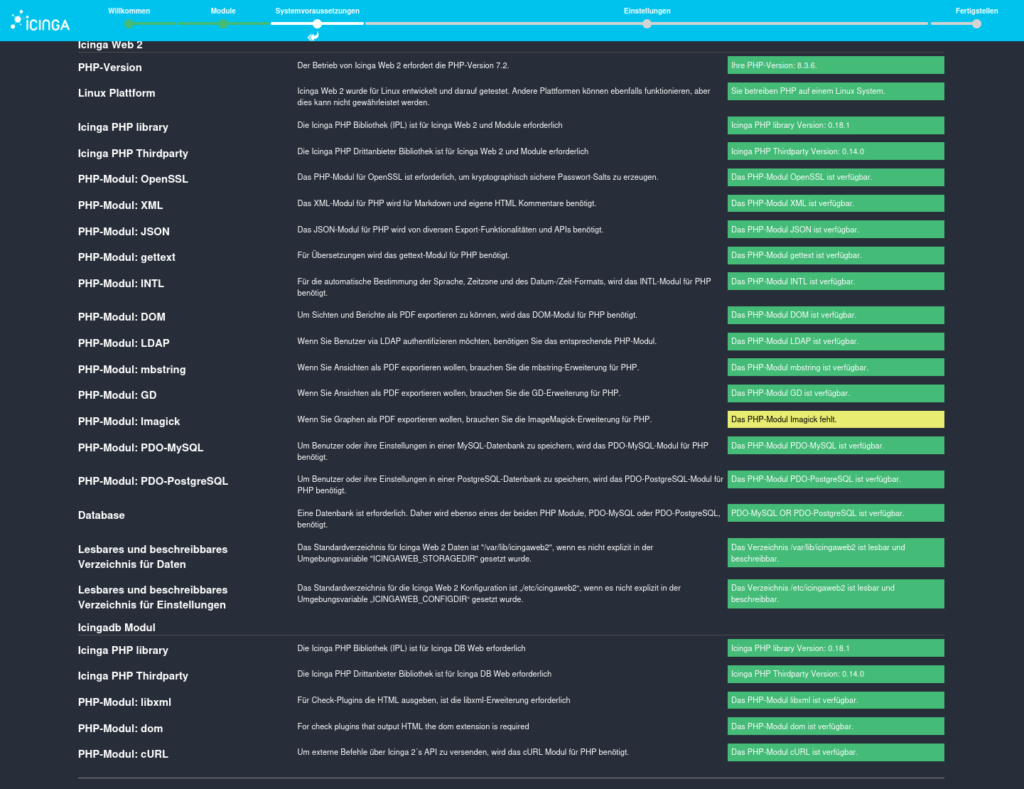
Check Icinga Web PHP modules
Here, you’ll find an overview of all available components and their respective statuses.
Select authentication method
In this section, you can specify one of three authentication methods. You can choose between LDAP, External, or, as in our case, Database.
These are filled in in the next step.

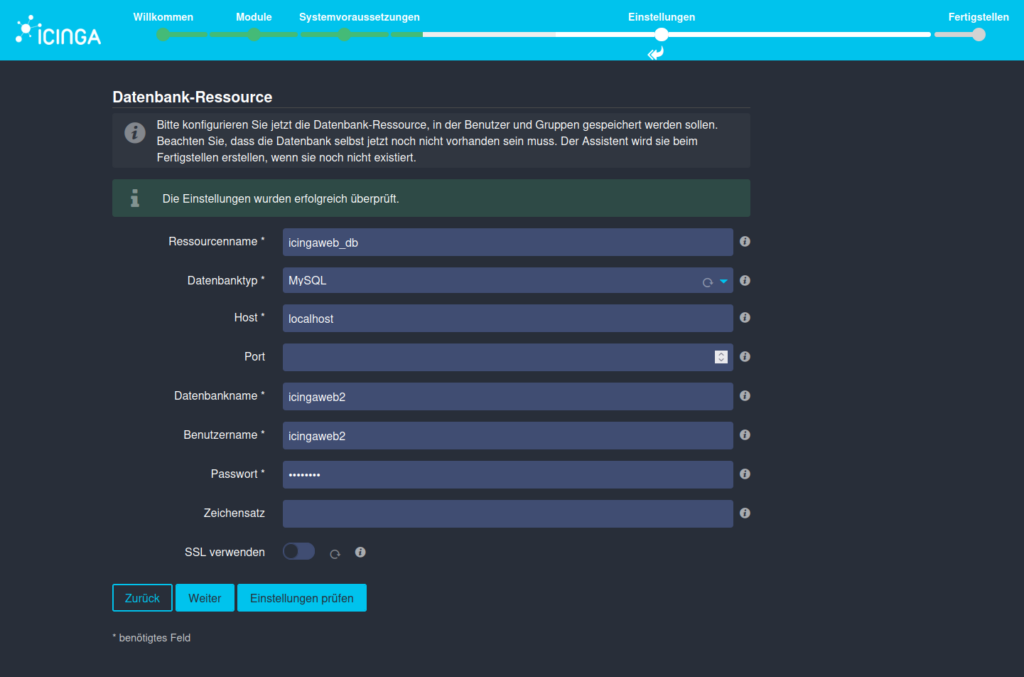
Database authentication
Here, you define the connection to the database resource you created earlier and select the database type. If you have changed the host or port, enter the corresponding values. We defined the database name, the user name and the password in step 2.
If you want to encrypt the connection with SSL as well, you can click the corresponding button and enter the required information.
Then click “Check,” and a text window will appear—as shown in this example—that checks your settings beforehand. If this has worked, the process continues.
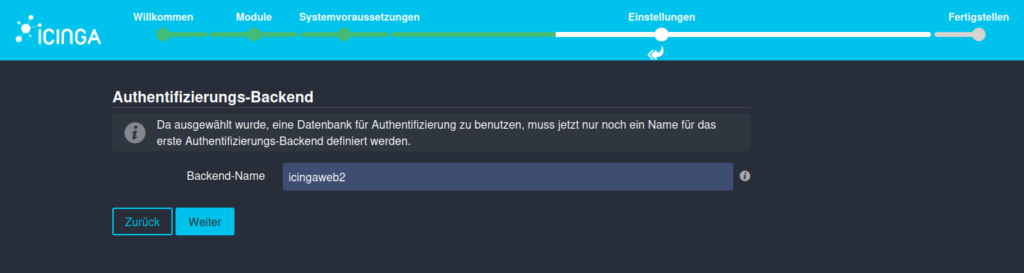
Icinga Web Backend Authentication
You indicated that you want to use a database for authentication (our database resource). This must now be defined.
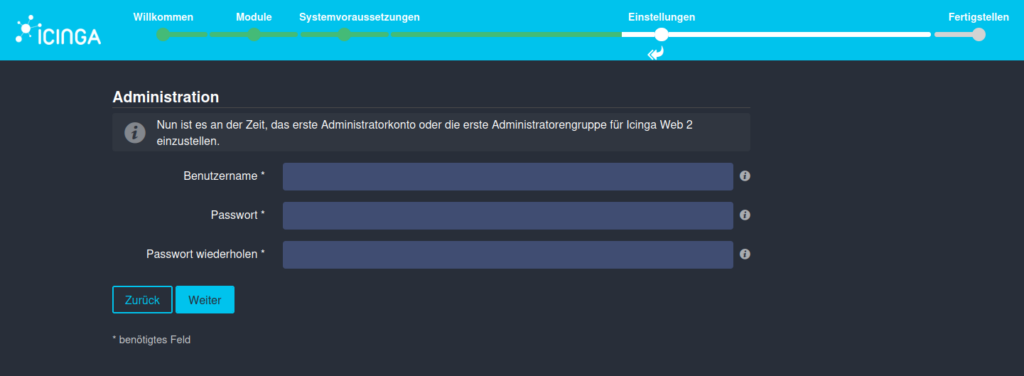
Create Icinga Web Admin User
Now create an administrator account for Icingaweb2. You can choose any username and password you like.
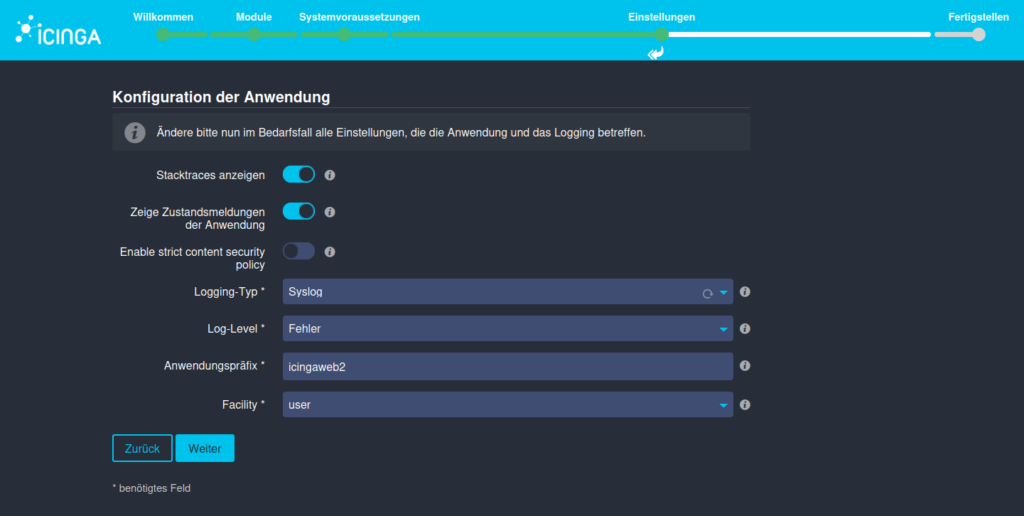
Configuring the Icinga Web Application
On this page, you can customize certain settings for the application and the logging behavior of Perform Icingaweb2. In this guide, the default settings remain unchanged.
Summary of the previous configuration
You will now see a summary of all the settings you have specified. If you’re satisfied with these and haven’t noticed any errors, click Next.

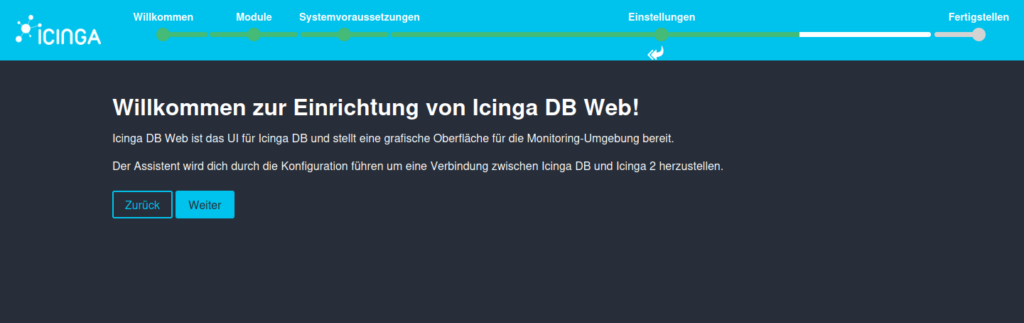
Configure Icinga DB Web
After setting up Icingaweb2, it’s time to configure Icinga DB Web. Next, you can start Icinga2 by following these five steps.
Follow the wizard to the next page. Here you have to enter the database data of IcingaDB. These were created at the beginning. You can find the relevant instructions in the “Icinga with IcingaDB” guide.
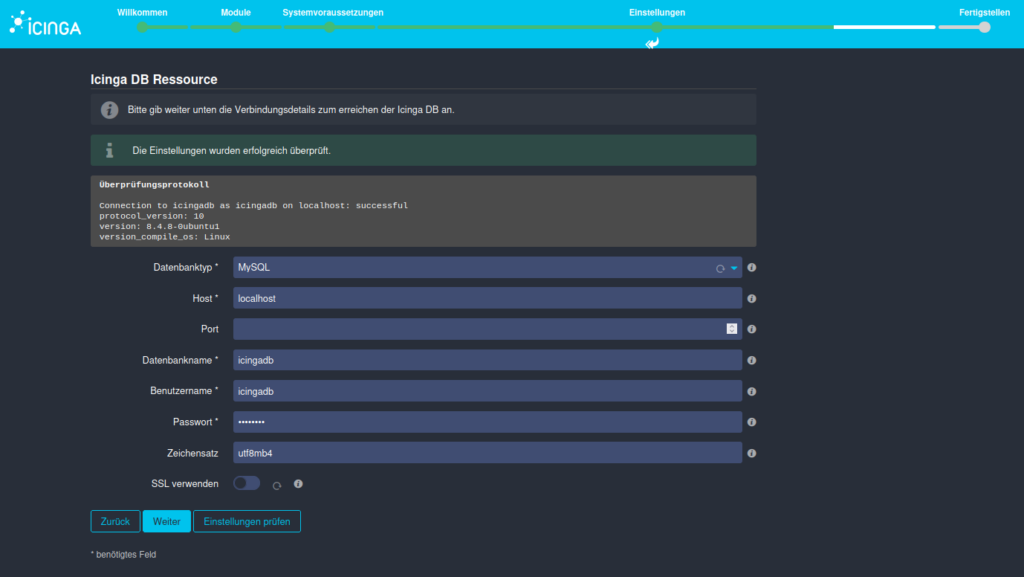
Check the settings here to prevent errors and avoid having to troubleshoot them later.
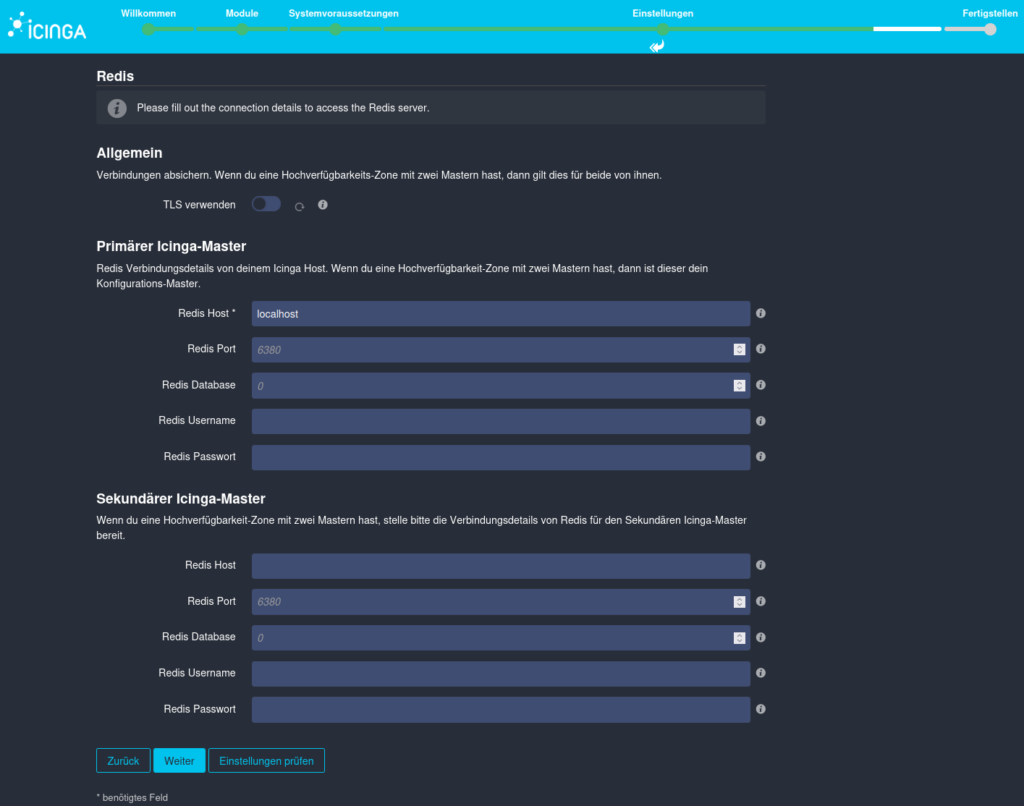
Provide Redis information
The following window will now establish a connection to the Icinga DB Redis. As with the database, you must enter the login credentials here and verify the configuration.
Note: Since no password was set during the Redis setup, this field can also be left blank.
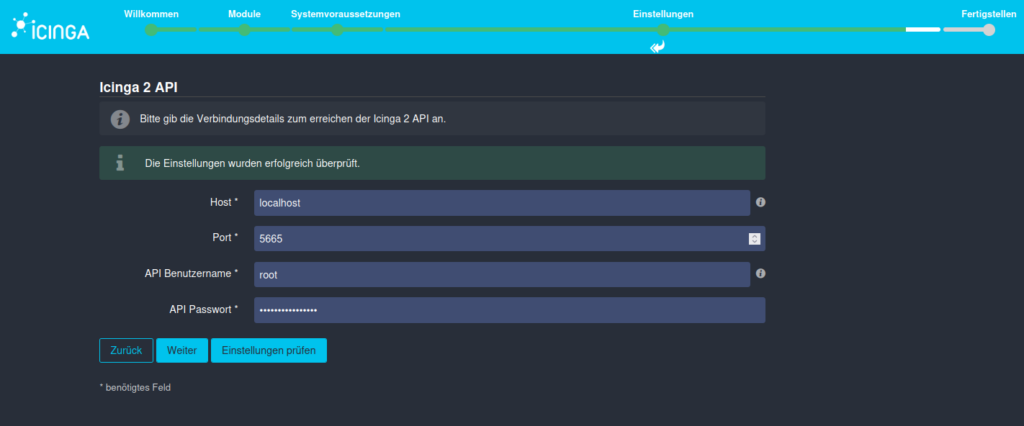
Connect Icinga API with Icinga Web
Before the Icinga Web configuration can be successfully completed, a connection must be established between Icinga Web and the Icinga 2 API.
By default, “root” is set as the API username. You can also find the username and password in /etc/icinga2/conf.d/api-users.conf.
You can also have the parameters entered checked again here.
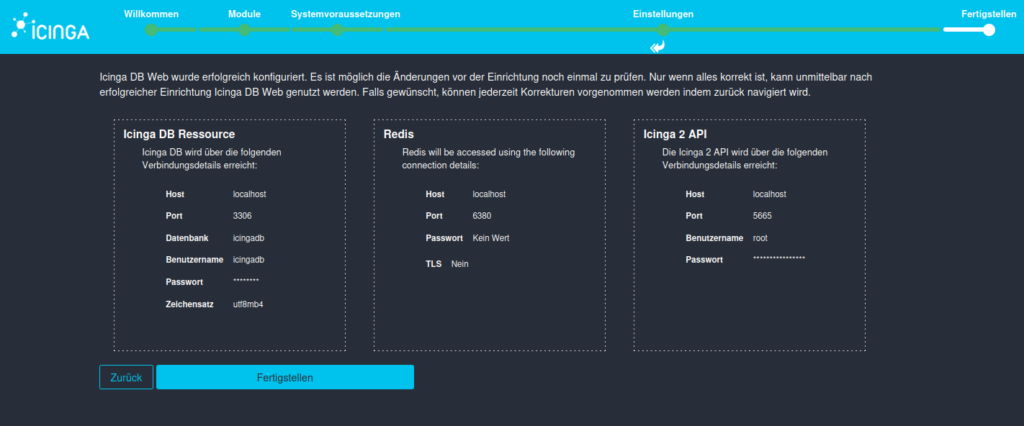
Overview & Conclusion
At the end, you’ll see a summary of all the parameters you entered. Check all entries again and press Finish.

Now nothing stands in the way of your first registration. Except for the password… 😉
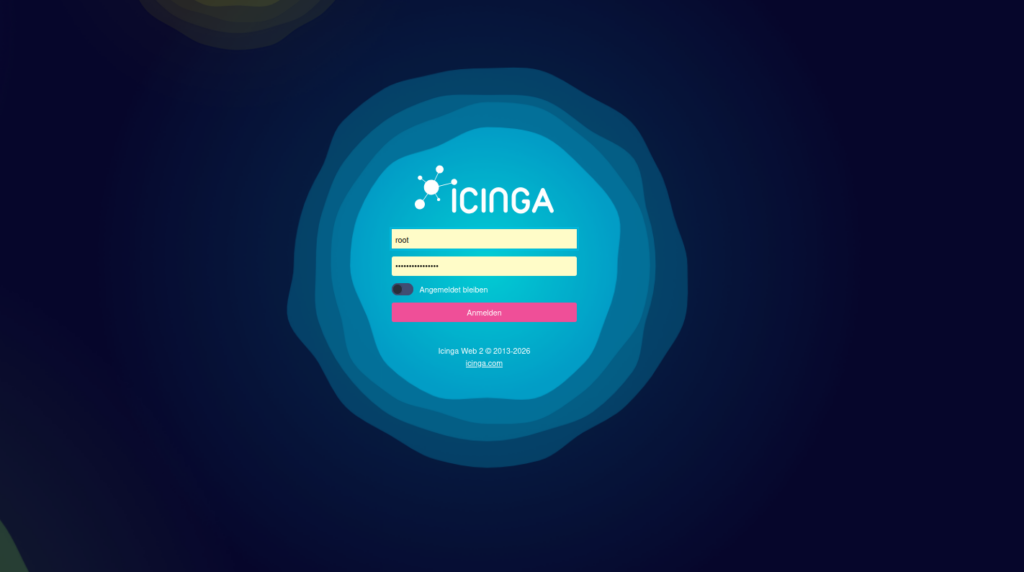
Great, you’ve successfully set up Icingaweb2 and connected it to Icinga DB!
Let’s continue: In the third part of the series, we’ll set up Icinga Director on Ubuntu 26.04—the graphical configuration tool for hosts, services, and templates.
