
Last updated: 21.05.2026
You no longer want to manage your Icinga configuration exclusively via configuration files? The Icinga Director makes exactly this possible: As a web-based configuration module, hosts, services and templates can be conveniently created and managed via Icinga Web.
Step-by-step instructions for installing the Icinga Director on RHEL 10.1
This guide explains how to install the Icinga Director on RHEL 10.1, including database setup, creating a resource in Icinga Web, kickstart wizard and first deployment. Further guides on installing Icinga on RHEL 10.1 can be found here:
Step 1: Install Icinga Director
If you want to install the Director, use:
dnf install icinga-directorStep 2: Set up the Icinga Director database
In order for the new Icinga module to be able to write and save its data, a database set up specifically for this purpose is required. This is done with:
mysql -u root -p
CREATE DATABASE director CHARACTER SET 'utf8';

CREATE USER 'director'@'localhost' IDENTIFIED BY 'DeinSicheresPasswort';

GRANT ALL ON director.* TO director@localhost;Step 3: Create a new Icinga database resource
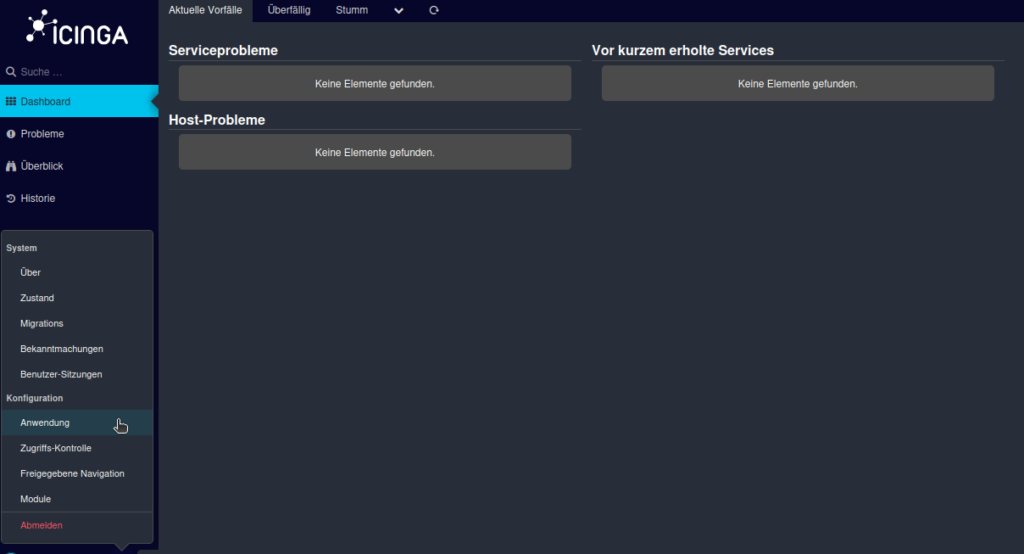
Now create the database resource in Icinga Web. This is done via the “Application” menu item. To find it, use the cogwheel at the bottom left of Icingaweb 2.
You will then find yourself in the General tab, which is highlighted in gray in the header. Next to it, switch to the Resources tab section.
Click on Create new resource. Fill in the fields with the access data that you created for the Icinga Director database in step 2.
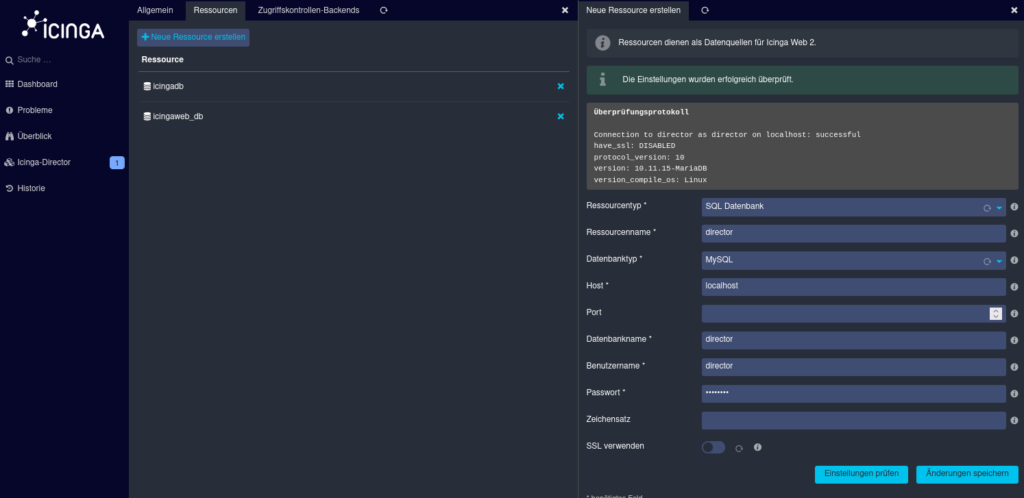
A sub-item called “Icinga Director” appears on the left-hand side . Click on this to store a database resource. If it looks a bit strange, press the key combination “Ctrl + R” and the usual beauty of Icinga shines through.
Save the database you have just created as the database to be used. The following information is now required for the Kickstart Wizard:
Endpoint name, you can find this under /etc/icinga2/zonen.conf or you have memorized it during the creation in the Icinga Node Wizard.
Next, the Icinga API user and its password are required.
You can find both under /etc/icinga2/conf.d/api-users.conf
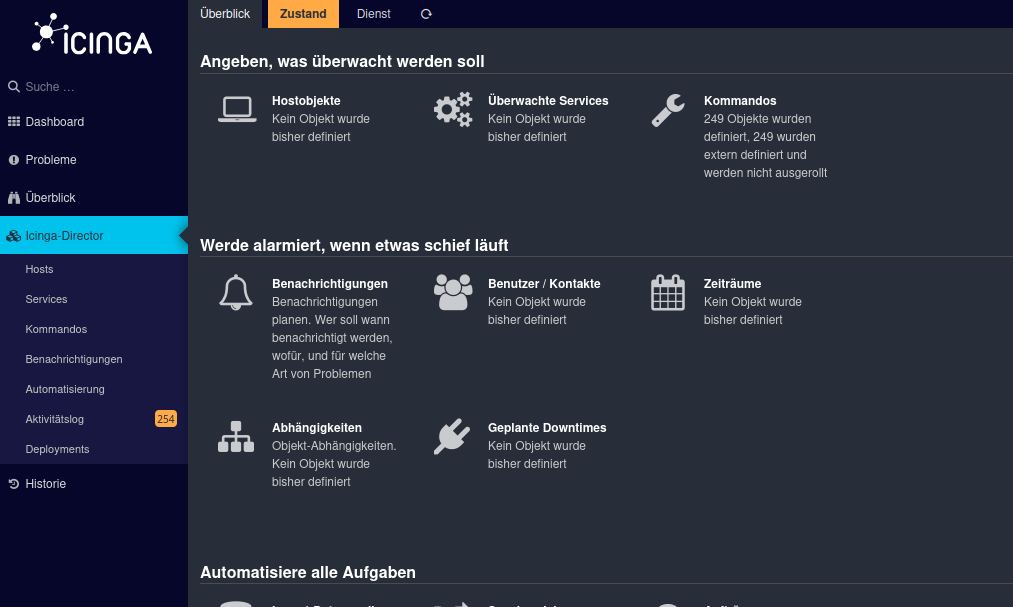
A three-digit number now appears on the left-hand side of the screen. This shows the changes made via the Director. You should now roll these out. In the menu bar of Icinga Director you will find the sub-item “Deployments”. Then click on “Create configuration”.
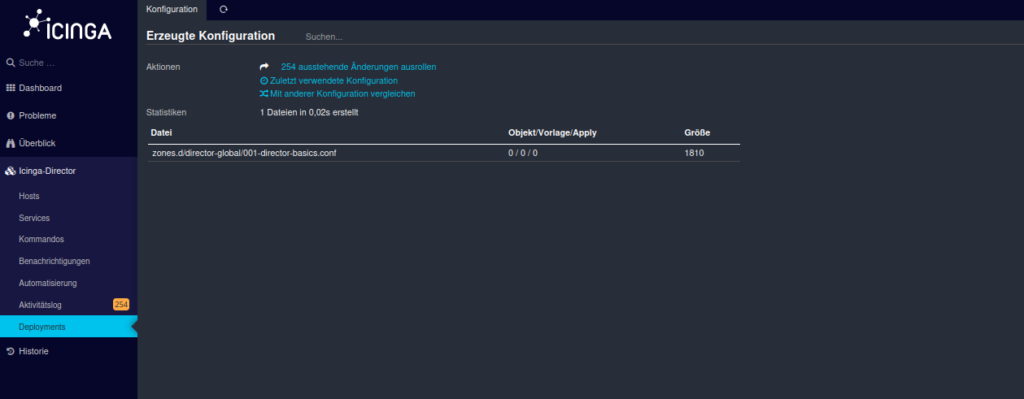
The final step now is to roll out the outstanding changes. You have now successfully installed the Icinga Director and fully set up the Icinga stack.
Questions about the installation or operation of your Icinga stack? We are happy to help, just get in touch by e-mail at sales@netways.de or via our contact form!
